 BMS & Protection
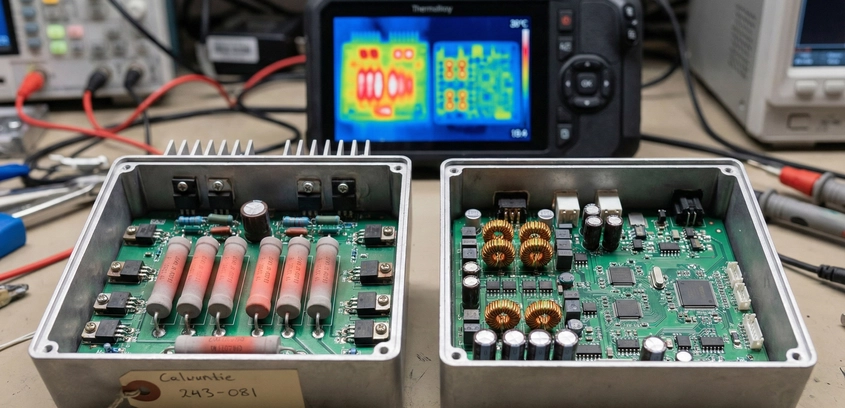
Sizing Your BMS: Current Ratings and Heat Dissipation
If your e-bike controller pulls 30 Amps, buying a 30A BMS is a guaranteed way to overheat your battery. In this engineering guide, we expose the difference between "Marketing Amps" and "Real Amps," explain the physics of MOSFET heat generation, and provide a definitive formula for sizing your BMS to run cool and last forever.
11 Oct 2025
Read More